
One of the first things we did, as far as homesteading, was plant a garden. My husband and I both grew up on farms, and we couldn’t wait to start growing our own food after we got married. Being poor college students who rented tiny apartments and moved around with semesters, made it very difficult to do that.
By the third move, however, I was pregnant and we were living in a four-plex with a tiny backyard that, put bluntly, was a complete mess. Our landlord was nice and allowed us to plant a garden across the entire space. Our upstairs neighbors, my brother-in-law and his family, did the garden planning, planting, weeding, and harvesting with us. All our landlord asked was that we tear it all out and level it before we moved out.
Now, when I say tiny, I mean tiny. It was strip of dirt, rocks, and weeds that was 4 ft. x 30 ft..
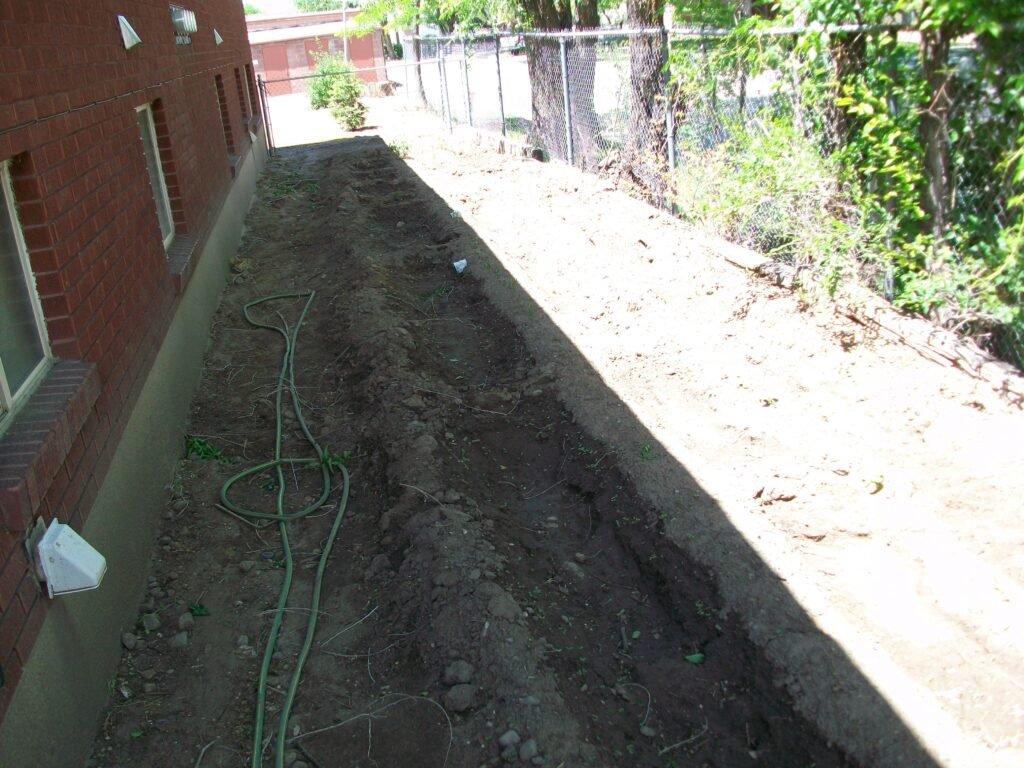
Which, made cleanup really easy. We had weeds pulled and rocks moved out of there the first day. Then, we hand-dug to till and make rows. Together, we planned out what we wanted to grow, planted, and watered each day.
My little one was born by the time our garden was growing anything. She laid on a blanket in the dirt while I weeded the garden and picked veggies.
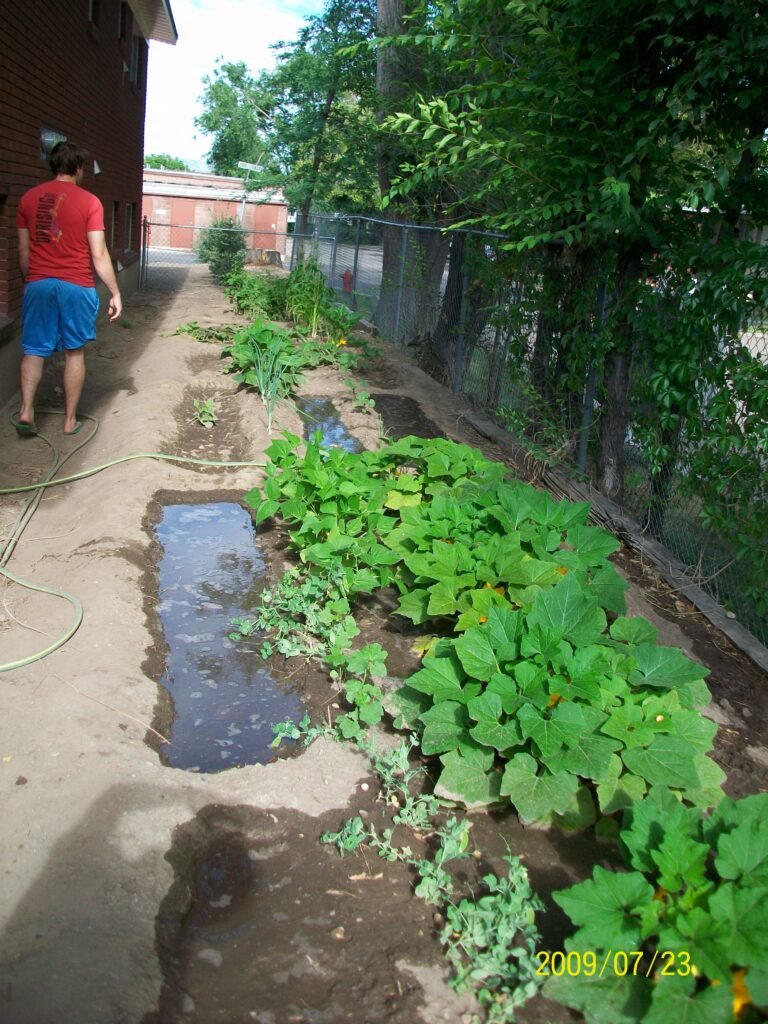
Over the years, we’ve had several different gardens, in several different settings.
Our next landlord allowed us a garden that was three times larger than our first.
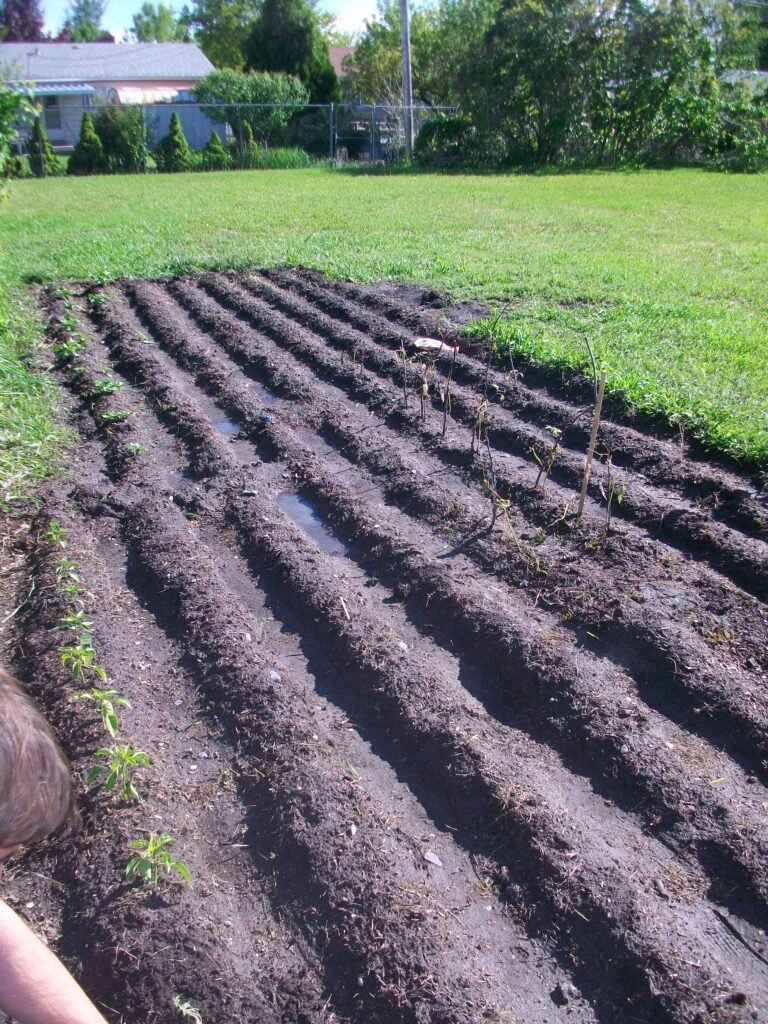
Then we bought a house and put raised beds wherever we could and rotated what we planted based on what we needed that year.
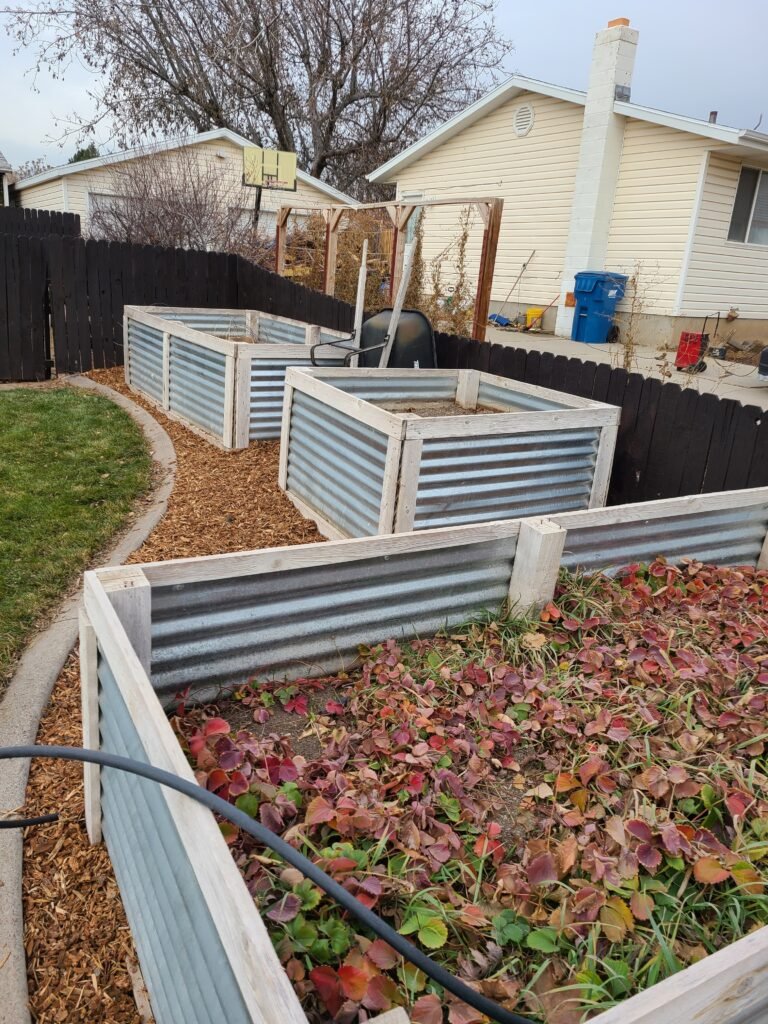
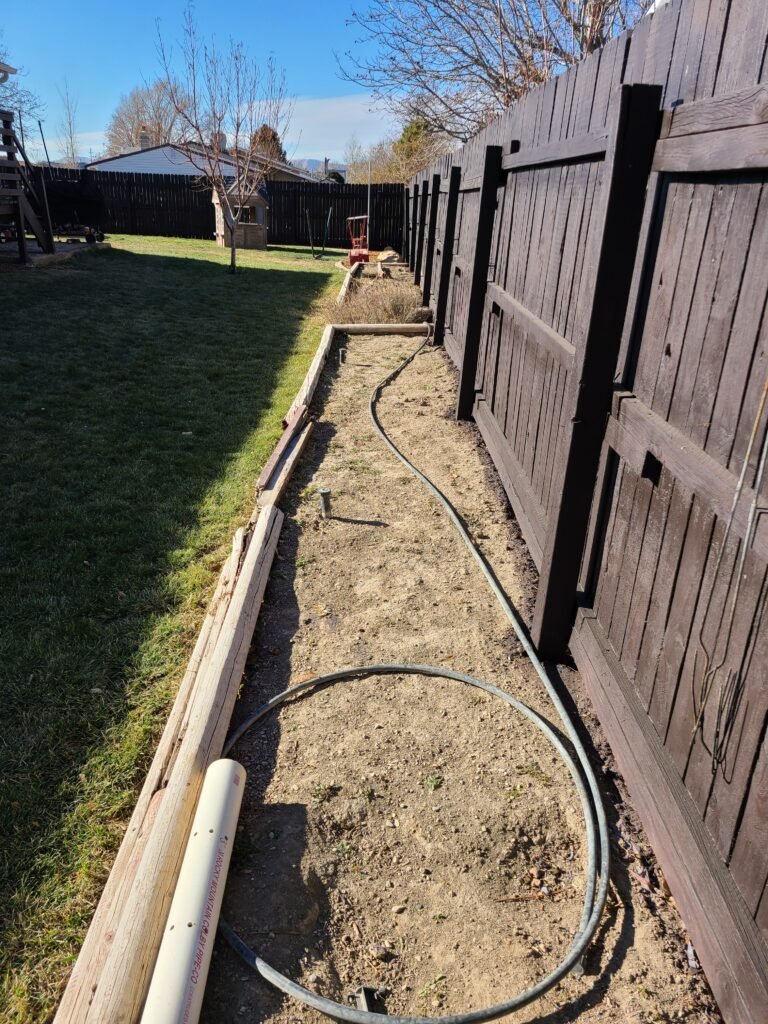
Next, we moved to a 2-1/2 acre property that included over 200 fruit trees and a garden that spanned over 2,000 square feet. During this time, we grew not only for ourselves, but for our local farmer’s market booth, where we sold green beans, cucumbers, peppers, tomatoes, cherry tomatoes, squash, and fruit from our trees.
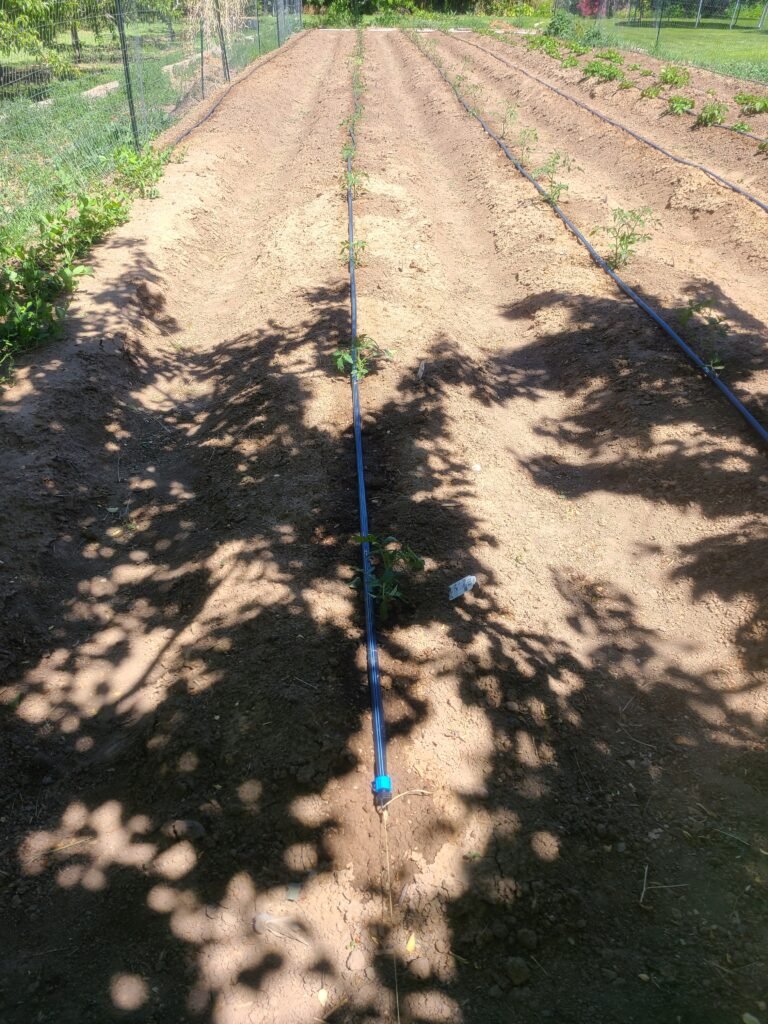
Today, we live on one acre outside of the city, which allows us to supplement our garden veggies with meat from our animals. Our garden is an ongoing process, as there wasn’t one established when we moved in. It’s about 16 ft. x 20 ft, though we have plans to expand, because our pumpkin plant took over 3/4 of that last year.
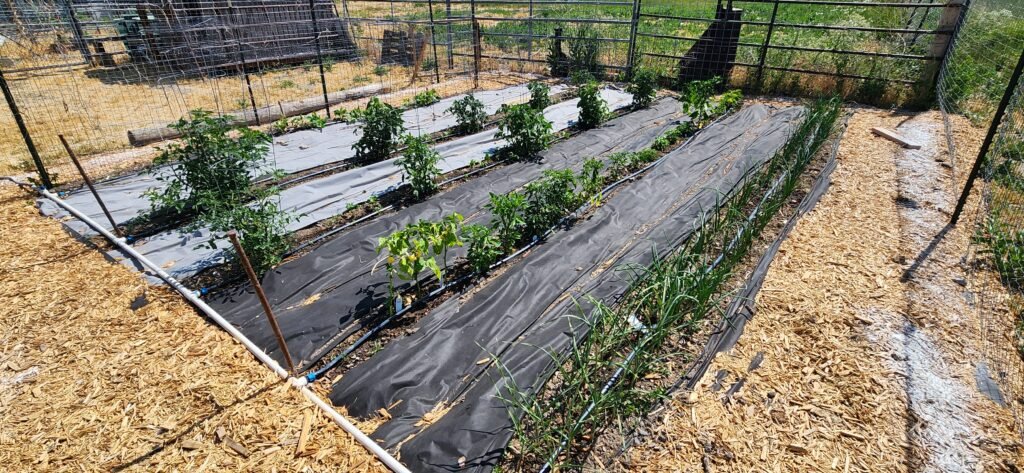
Over the past 17 years, we’ve learned a lot about how to plan a vegetable garden, planting, weeding, harvesting, and preserving our own foods.
And, doing the farmer’s market we realized that most people buy food from others, not because they want to avoid a garden, but because they can’t or don’t know how to make their own garden work for them.
Many first-time gardeners purchase a few seeds, throw them in the ground, and expect them to grow. Though this works sometimes, successful gardeners understand that the work begins long before the first seed is purchased and continues past the harvest.
Gardens take research, planning, and preparation.
So, how do you plan a garden?
Work with What You Have
First, you need to assess your resources. You can’t use what you don’t have, but you probably have more than you think.
Where will your garden be?
Look around your property (or rental) and decide where your garden can grow.
Watch for an area that is not in the main traffic pattern of your yard, but that gets 6-8 hours of full sun each day. You don’t want sun-hungry plants covered in shadow from nearby trees, fences, or buildings for most of the day. You also don’t want the kids to play basketball or run through it while they play in the back yard. Generally, for us this has meant the north and south sides of our home, as far away from the house as we could get.
Next, check for soil quality. This isn’t necessarily a make-or-break issues, as soil quality can be improved. However, most vegetables need a good quality soil that provides drainage and nutrients. Soil should not be overly rocky, compacted, sandy (except for carrots), or pure clay. As a general rule, it should sift through your hand when picked up, not stay saturated for days on end when it rains, be easy to work with a rake or shovel, and be dark brown to black in color. You want your plants roots to be able to work into the ground easily without being pulled up by winds so that they can reach the nutrients and water they need.
If you don’t have great soil (we don’t at our new place), you can make it with a little bit of work. Remove rocks, sprinkle fertilizers, compost, and other organic matter (e.g. grass clippings, leaves from the fall) on top of the area, and till it all in either by hand or using a rototiller. Introduce beneficial bugs (e.g. earthworms, praying mantis, ladybugs) to the area and let them work. The first year, your garden will do pretty well. After three-ish years of doing this, your soil will be in great condition.
You can add in-ground garden soil from your local home improvement store to the above techniques to speed up the process. This can also be added in bulk (search for a local landscape supply store) to improve your gardening area soil quality. We have done this for a very sandy area in our garden, as well as in an area that had a lot of clay. Our soil improved instantly, though we still add fertilizer, compost, and organic matter each year to continue to refresh nutrients.
Alternatively, you can build raised garden beds and fill them with soil that is already prepped. A lot of people use corrugated metal, stock tanks, wooden crates, or large plant boxes (see container gardening) to do this.
Once you know where your garden will be, measure the space, or spaces, you have and write it down.
How Will You Water
Water is vital for a healthy garden, so you need to have a plan. When planning where to plot your garden, consider water sources. This may be a nearby irrigation ditch, a water hose, a drip irrigation system, or even a watering can. Our family has a water hydrant near the garden, which is attached to our watering system. Think about how much work you are willing to do each day – a watering can is much more labor-intensive than a system hooked up to a hose that you can just let run- and adjust your plans to fit a realistic busy day. If you plan for the busy day, when you don’t feel like watering, you will be happier and more successful overall. Those plants need water even if your kiddo has recital, you have a cold, and your husband is out of town. Make it as easy on yourself as your budget allows and plan to improve little-by-little each year.
How Much Time/Money Do You Have
Gardening is one of those hobbies that can take up as little or as much time and money as you let it. Budgeting for both before any plants go into the ground can save you a lot of stress.
The larger your garden is, the more time it will take to plant, maintain, harvest, and preserve. The larger it is, the more it will cost to fill it with plants, fertilize it, water it, and maintain it. Unless you plan on selling produce, you should limit your garden to what your family needs and will actually use.
I say this as a person who cans way too much food each year because I get caught up in it all way too easily.
Our family of five grows about 10 ft. of green beans, 10 ft. of various kinds of cucumbers, 4 tomato plants, 2 cherry tomato plants, 12 various pepper plants, two zucchini plants, 2 crookneck squash plants, and an entire row of various onions and garlic. About half that would feed our family for a year, if it all survived. We plant double what we need because, pests, weather, and other forms of failure to thrive happen.
It took us 15 years to get that number adjusted just right for our family, and we still alter it just a little bit based on changing needs each year.
Soil prep, weed blocker placement, fencing, and planting each year for our little garden takes about 10 hours. Weeding and maintenance takes about 30 minutes every two weeks. We water once a day for about an hour, but we just let it run while we walk and feed animals. We don’t sit there and watch it. Harvesting takes us about 45 minutes per week in the height of the season.
Planning out your budget is a huge part of planning, too. Remember, you don’t have to have a Pinterest-perfect garden, just a healthy one. Changes, improvements, and additions can be done over time, as the budget allows. You should plan for soil amendment, as needed. You need to budget for seeds or plants that will be put into the garden. Seeds are cheaper, but require pots, potting soil, and months of work to get ready for planting. Plants are simpler, as the work is done, but more expensive. If you are planning on fencing your garden, building raised beds, or adding weed blockers, a trellis, tomato cages, or netting, that needs to be put in the budget, too.
Realistically, a small garden can be well-put together for about $100-200. Things like raised beds, watering systems, and fencing will raise that price.
Hardiness Zones and Seasons
Next, learn your plant hardiness zone. You can find an interactive map at planthardiness.ars.usda.gov. This map allows you to search by city or zip code. It takes into account average temperatures, growing season lengths, moisture levels, and soil types to give an idea of what types of plants will best grow in your area. Many plants and seed packets include a hardiness zone in which they will grow on their label. You can also simply google the and varieties of plants with the words “hardiness zone”.
Knowing that number will help ensure you plant things that grow well where you live.
For example, I grew up growing citrus in my backyard. I can’t do that here. They will not grow in our climate. So, this is something I buy rather than trying to plant at my house.
You will also need to understand the seasons in your area. For example, my parents plant in November because they live where the summers are too hot for plants to grow outside. Their garden is usually done by May. However, we live in a colder climate, and we don’t plant until Mother’s Day, and harvest until October, because our summers are milder. In general, most plants need to be planted after the danger of frost has passed. Exceptions include garlic, onions, peas, and a few others that need the winter cold to grow properly.
Deciding What to Grow
Next, make a list of items you would like to have in your garden. Consider this to be a wish list and include everything you want to one-day grow, even if it may not be possible right now, or ever. Think about what veggies your family uses on a regular basis, what you buy from the store, what you can’t get at the store and wish you could, and what new foods you may like to try. Use the free chart here to make this list.
Research the requirements needed for each of your wish list items. On the chart, note the hardiness zone, the space requirements, the water requirement, the skill level needed, ideal planting time, and the investment required. Investment may include time and/or money. Information may be found online, in gardening books, on the back of seed packets at your local store, or by talking with others who grow in your area. Use each of these resources until you’ve completed the chart for each plant on your list.
After researching, eliminate the plants that do not grow in your zone from your list. This does not mean it is impossible to grow them, just that it will be very difficult. Save those for when you are feeling more confident and have more resources.
Next, find 3-5 plants that have a low skill level and match your resources, needs, and wants. Consider time, money, space, water, and growing season requirements as you narrow down your list. Place a star next to those you choose. Beginning small, with just a few plants, will allow you time to learn the skills necessary without overwhelming you. Keep your list for next year, when you may decide to expand your garden by a few new plants.
Plant Partners
Now that you’ve chosen which plants you will add to your garden and understand the requirements needed to grow them, it’s time to make a map and a shopping list. This will allow you to plan out appropriate space, planting order, and watering method. It will help you be prepared for your trip to the store, as well.
There are two common types of gardens: traditional gardens and container gardens. Traditional gardens include plots of land and large raised beds. They allow you to plant all of your plants in one area that usually does not move. These types of gardens are good for areas with more land (e.g. farms, large yards, community gardens, etc.), predictable weather, and plants in your hardiness zone. Container gardens are perfect for areas with less space, areas where weather can be unpredictable, and for plants that may need to be moved inside. Each type of plant is grown in its own container (e.g. pots, small planters, storage boxes, etc.). Containers have a smaller footprint and can be placed on balconies, in small yards, or inside. Containers also have the advantage of being portable so they can be moved in and out of greenhouses, to different rooms, inside or outside, and in and out of the sunshine. If you are planning a container garden, you will need to purchase appropriately sized pots/containers for each of your plants (more research online).
If you are growing a traditional garden, you will need to understand plant partnerships. Some plants grow well next to others while some do not. Successful gardeners understand and use these partnerships to improve their harvest and keep their plants healthy. This is known as companionship planting.
Different plants use minerals from the soil in different amounts. While the three most common minerals needed are nitrogen, phosphorous, and potassium(these are what the numbers on fertilizer packages stand for), they are needed in different amounts by different plants. Garlic and blueberries, for example, need a lot of nitrogen while clover restores nitrogen to the soil.
Some plants can repel pests that cause common problems in other plants. By planting them near each other, or bordering your garden with them, you can naturally protect your harvest rather than using chemical pest control. Many people plant marigolds around the garden for this reason. Others plant tomato plants near basil, as basil repels the insects that harm tomatoes. Mint can have the same type of effect on other plants but should be grown in its own container and moved around as needed, as mint spreads quickly.
Likewise, plants can be used to attract pollinators and other beneficial bugs to your garden and help produce more food. During growth, plants bloom flowers. However, these flowers will not grow into produce unless they are fertilized. Pollen and stamen must meet and most plants do this naturally through pollinators like bees, wasps, butterflies, and moths who visit the plant for food (usually nectar), pick up pollen, and drop some that pollen onto the stamen of the next plant they visit. Some plants attract these bugs with brightly colored flowers. Others do it with their scent. Planting something like parsley (which smells amazing to pollinators) next to tomatoes can help bring in pollinators, who are more likely to visit your tomatoes because they are already in the area.
Finally, some plants can be used to provide shade for partial-sun plants, or a structure for climbing plants. Corn is often grown with lettuce, as the corn grows tall enough to shade the lettuce from too much sun. Corn or sunflowers were traditionally grown with climbing plants, such as beans, peas, or cucumbers, providing structure that supports their upward growth.
A few more examples of plant partners are below, along with benefits to the plants. You may need to do more research to find your specific plant partners.
Beans correct nitrogen levels in soil and can benefit tomatoes or corn
Chives and carrots- Chives repel insects and improve the flavor of carrots
Radish and cucumbers- Radish repels pest from cucumber plants
However, not all plants do well together. In fact, planting the wrong plants next to each other can harm your harvest and your soil. Understanding this can help you organize your garden for maximum efficiency. Some examples are below. Research further to find foes of the plants on your list.
Corn and tomatoes- can become infested with pests that spread from one to the other
Peppers and cabbage- Cabbage inhibits growth of peppers
Potatoes and zucchini- Potatoes pull nutrients from the soil that zucchini needs
Carrots and parsnips/dill- Parsnips and carrots can share diseases and pests while dill can affect the flavor of carrots
Beans and onions- Onions inhibit the growth of beans. Peas are also affected.
Pumpkins and squash- Both grow outwards, taking up space and can cross-pollinate.
After researching the plants you have chosen, draw a map of the space (or spaces) you have available. Decide whether you will have mounds, rows, containers, or a combination of all three. Make your map to scale and draw out your plans within your space. Then, start adding plants to your garden map using the spacing recommendations on the back of the seed packet or plant information card. For example, tomatoes should be four feet apart, while carrots can be planted in a straight row, right next to each other. Plan your placement and spacing, making changes as needed. Consider plant partners, plant spacing, structural support needs, and sunlight preferences. Always do your garden map in pencil, it’s much easier to move some writing on a paper than it is to move your plants after they are in your real garden. Save your map each year, to help you plan the next year.
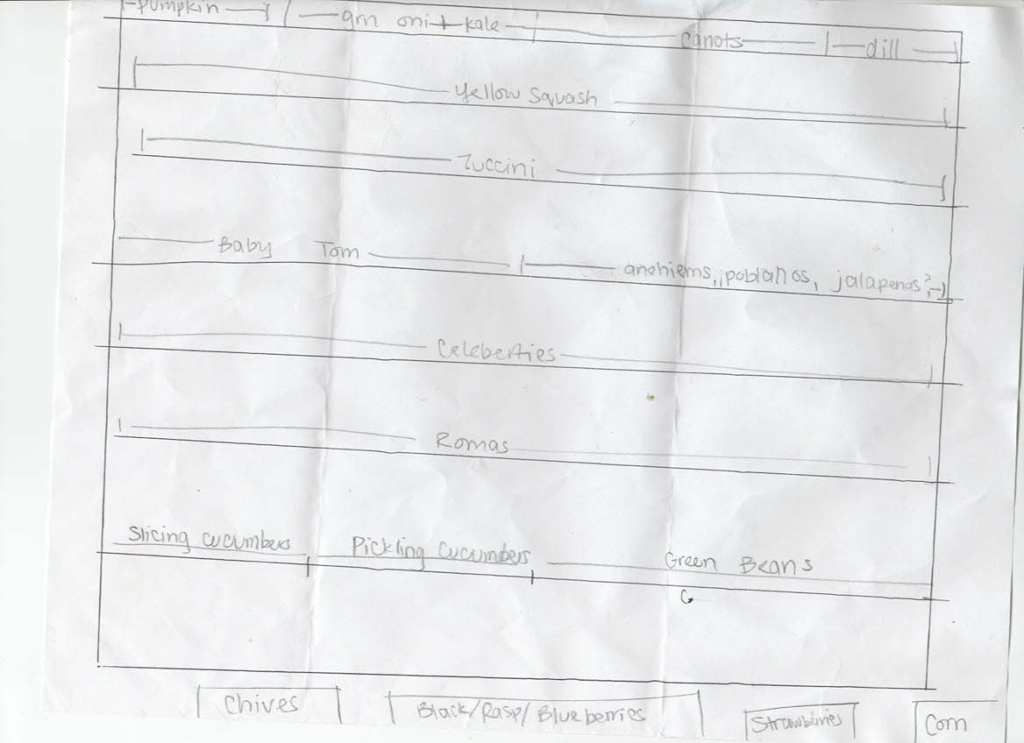
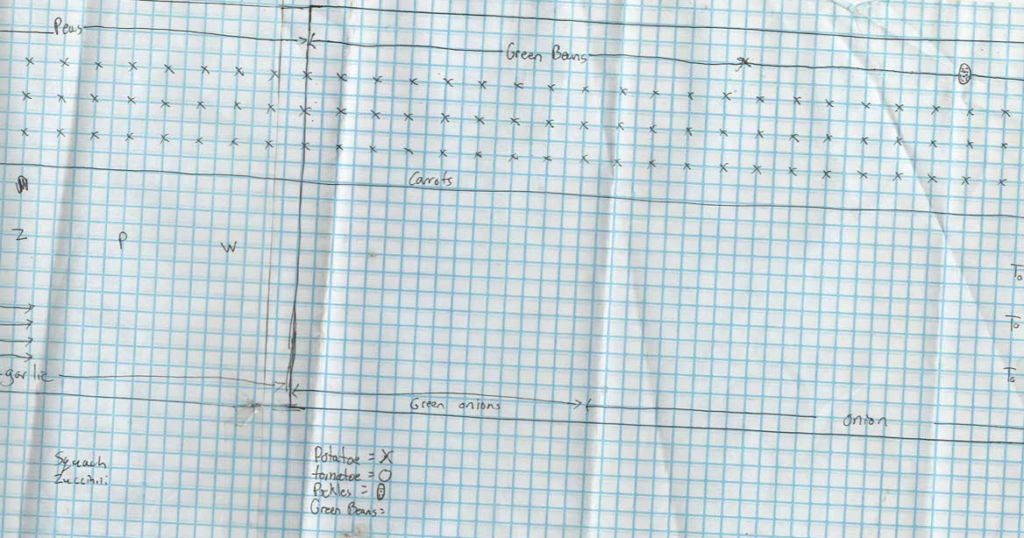
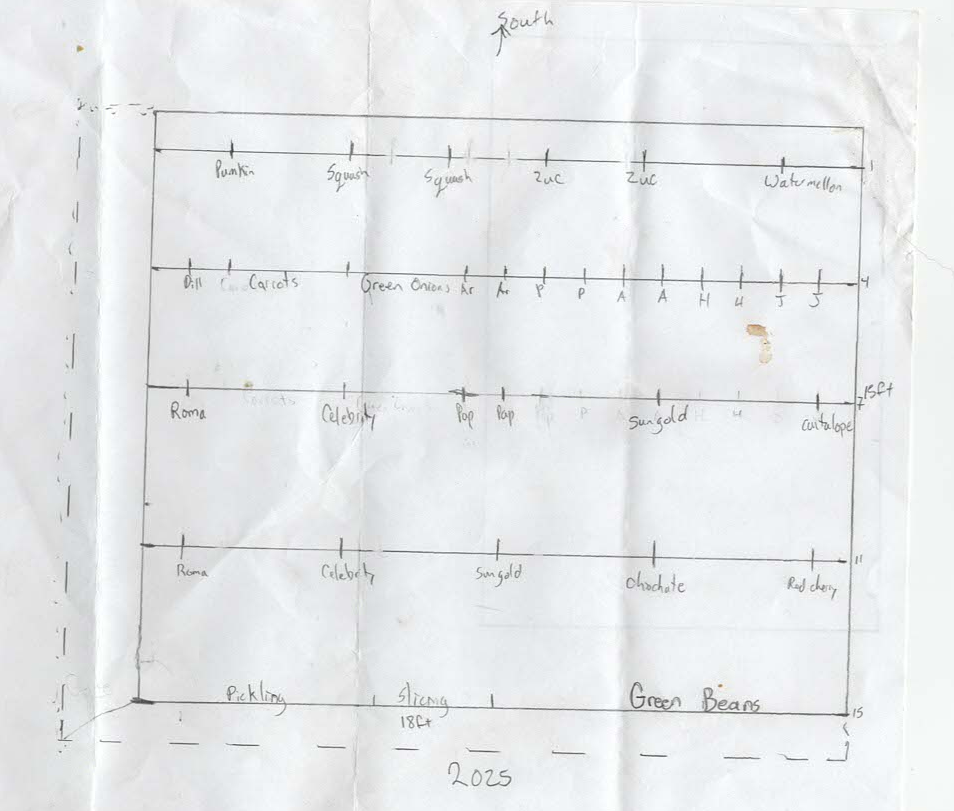
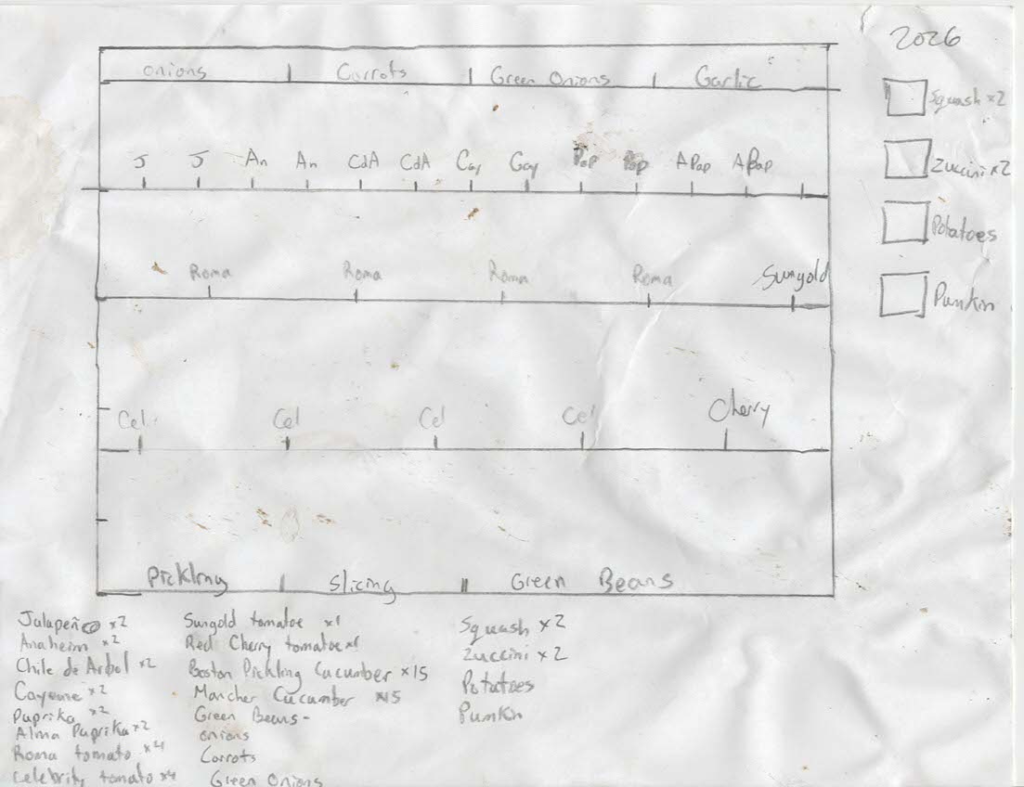
Below are some examples of maps we have made over the years. Most of them are messy and probably only make sense to us. Some include only in-ground garden space while others include separate boxes, too. Some show general areas for each type of plant while others map out each individual plant. Some include our wish list, while that was done separately on others. All of them are really just simple grids that allow us to visualize and plan for the number of plants we want and how we will lay it all out. When we go to plant, this map comes out with us, and we use turn it into the real garden.
Prepping, Planting, and Watering
Now that your research is done and you garden is planned, it’s time for the hands-on work to begin. Gather your supplies and begin preparing your garden.
In traditional gardens, this may mean rototilling, plowing, or breaking up the ground with a shovel. This is the perfect time to add compost, potting soil, sand, or fertilizer to your garden as it will get mixed in as you work. Be sure to check the requirements of each of your plants before adding to your soil. For example, carrots require a soft, sandy area, hard clay may need compost and/or potting soil added, or nitrogen, phosphorus, and potassium levels may need to be improved. Soil testing kits are available in home improvement and gardening shops and can help you better understand the nutrient levels in your soil. Breaking up the soil provides a soft, fertile area for roots to establish themselves and allows water to drain, rather than sitting and rotting your plants. Pull out any rocks, large weeds, or trash in the area as you find it.
Next, you may need to create rows, mounds, or watering divots, depending on what type of plants you are using. Our garden has several rows, and then mounds for pumpkins and squash at one end. After tilling, we simply measure out, and rake up rows, leaving a lower walkway between them.
Likewise, container gardens and raised beds will need healthy soil and proper drainage. Begin by ensuring your containers has drainage holes at the bottom. This will prevent sitting water and protect your plants from rotted roots. If your container does not have these holes, it may be necessary to drill some in. Next, provide a substance that allows for water to drain through. This may be sticks, pebbles, gardening rocks, or a combination of each. Remember, use what you have. Place these at the bottom of the container in an even layer. At the top, add a deep layer of soil that reaches 2-3 inches below the rim.
Next, prepare your watering system. You may want to run soaker hoses down rows, water with a watering can, or provide drip irrigation. If you are just starting, your watering system may simply be a garden hose and an alarm on your phone to remind you to water each day. Consider the needs of your plants, your resources and space, and the amount of time you want to spend watering your plants. You can also add a timer to some watering methods, allowing for more uniform and less-forgotten watering days. Preparing your watering method before planting allows you to be ready to water as soon as your seeds/plants are in the ground. Test your watering method, ensuring that the ground becomes moist, but not saturated, with water and that there are no leaks.
Consider your weed control methods. You may want to spray a large area with herbicide weeks before planting (check the label for directions), lay a weed-blocking cloth down, or provide an appropriate ground cover. You may prefer using a hoe or weeding by hand. Generally, we weed by hand, till, and then add weed blocker between the rows. This allows plants to grow only on our rows, cutting down on weeding time and plant competition. We also added pine woodchips to the perimeter, over the weed blocker, to deter pests and further block weed growth. Gather the supplies and finish the preparations needed for weed protection before planting.
Finally, use your map to plant each seed or plant in your garden and/or containers. Check the instructions on the package for proper plant spacing, depth, and planting times. Adding labels near each planting will help you remember what you planted there.
Check growth timing, and add an alarm to your phone or a note on your calendar to thin out weaker or excessive plants. This allows several plants to grow in one area, and gives you the option to choose the healthiest plant to continue at thinning. After thinning, your strongest plants will have more resources dedicated to their area and less competition, allowing them to thrive.
Water at the same time each day, with the same amount of water. Regularly check the soil. If it is saturated after 24-hours, water less. If it is dry, water a little more. On especially hot days, your plants probably need a little extra water while on rainy days, they don’t need watered at all.
Weed as needed and treat for pests if you notice any bite marks, broken stems, or missing plants. Checking your garden during watering each day will help you stay on top of issues as they come. Beans and peas may need a trellis to climb to support plant growth. We simply use a few T-posts and some wire fencing. Tomatoes and peppers may need a cage to support their structure.
While your plants grow, research harvesting and storage techniques for each plant type. Learn how to tell if a veggie is ripe and ready to pick and how to pick them without damaging your plant. The more often you pick, the more your plants will produce. Check plants at watering each day for anything that’s ready to be harvested.
Planning a garden is really a matter of knowing what your family will use, what resources you have, and what makes plants healthiest. It can be done in a million different ways, and may even change year-to-year as you learn and try new things. The most important part is getting started, not making it perfect.
So, what are you growing this year?