
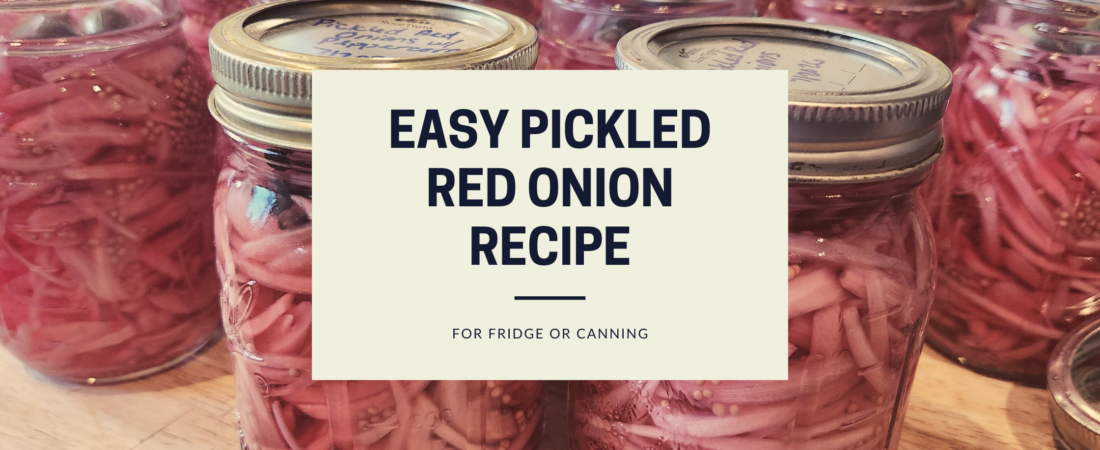
Pickled red onions are a fun, easy, and healthy condiment that you can add to a variety of foods. The can be added to burgers, tacos, sandwiches, nachos, salads, eggs, burritos, pulled pork, rice bowls, shawarma, hot dogs, and anything else that goes well with that sweet onion flavor.
A few cheap ingredients, 20-ish minutes of prep, and an overnight rest in the fridge, and you’re new favorite topping is ready to go!
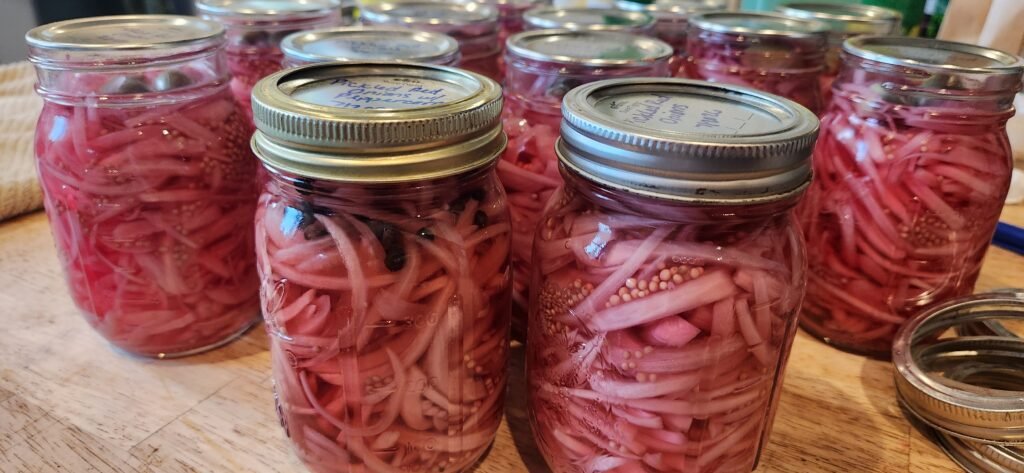
Best of all, they can be stored in the fridge for up to three weeks, or canned in a water bath and stored for months.
Step One: Gather your supplies
Making pickled red onions requires very little in the way of equipment. A cutting board, sharp knife, canning jars with lids and rings, a pot, and a ladle are all you need. If you want to be extra fancy, you can purchase fermentation weights (like these) for pickling in the fridge overnight. If you are canning, you will need new lids (always can with new, not used lids), a water bath canner (or large pot), and jar lifter.
Additionally, you will need red onions, white vinegar (though you can also use apple cider vinegar), water, sugar, salt, garlic cloves, and mustard seed, along with any other spices or seasonings you want to add. For this batch, we added peppercorns, but many people also add bay leaves, coriander, dill, fennel, red pepper flakes, jalapenos, allspice, thyme, or oregano to theirs. Try a few different combinations to find what seasonings you like.
Step Two: Prep your onions
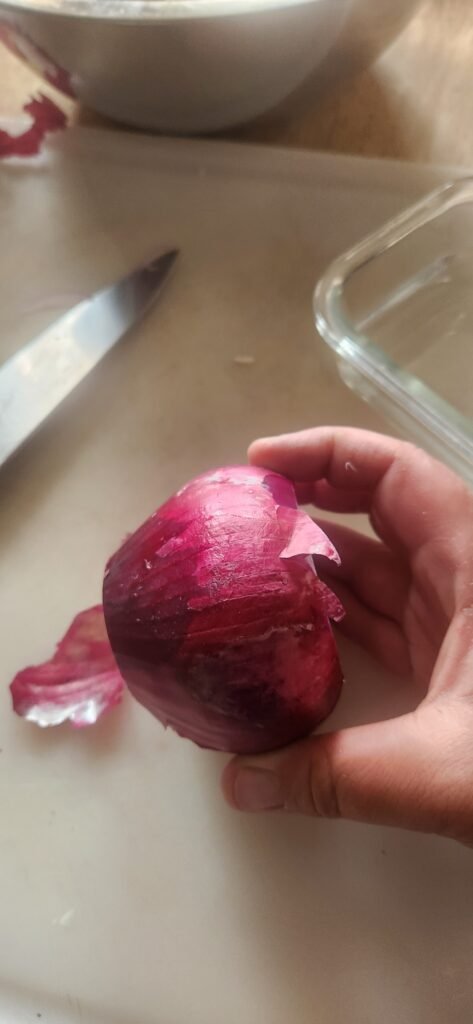
Cut the root and top off your onions and remove the skin.
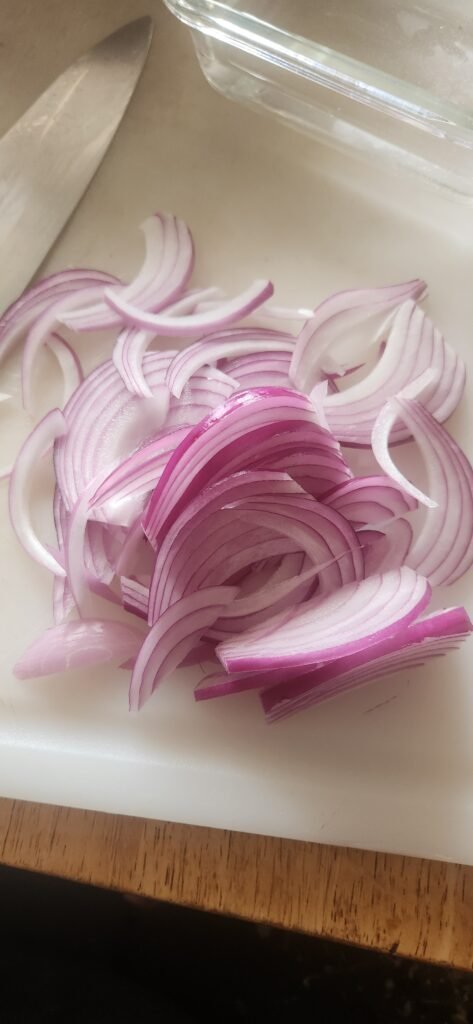
Next, slice the onions (as thick or thin as you like) from top to bottom (not sideways). Cutting this way keeps the onions more firm, giving you more crunch in the final product.
Step Three: Place onions in your jars
Warm your jars- this prevents cracking when you add the hot brine. You can do this by running them in the dishwasher, placing them in warm water in a clean sink, or placing them in cold water in a pot and slowly warming it up.
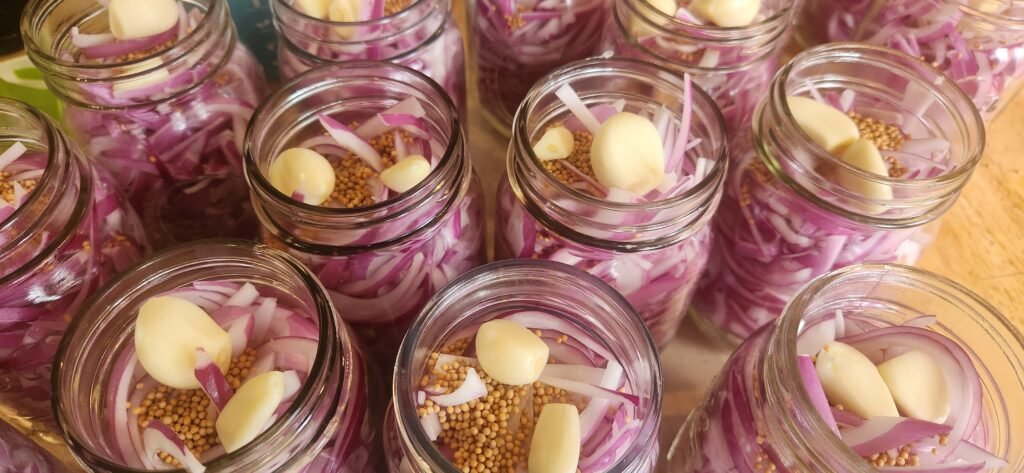
Put your sliced onions into the warmed jars (I used pints), packing them in firmly. Leave a 1/2 inch headspace at the top.
Step Four: Add garlic, mustard seeds, peppercorns, and other seasonings
Peel your garlic and add two cloves for every pint (or four for each quart), ensuring you keep your 1/2 inch headspace. Add your mustard seeds, peppercorns (if you want a little bit of spice), and other seasonings.
Fun fact about garlic- sometimes when you pickle it, garlic turns green or blue. If there are no other signs of contamination, it is still safe to eat. It’s simply a chemical reaction the garlic undergoes when exposed to vinegar and/or heat.
Step Five: Create your pickling brine
Add water, vinegar, salt, and sugar to a pot, stir, and bring it to a boil. Once it’s boiling, use a ladle to add brine to each jar, leaving 1/2 inch headspace, but completely covering your onions, garlic, and seasonings. If you start your brine when you begin slicing onions, it will be ready at about the same time.
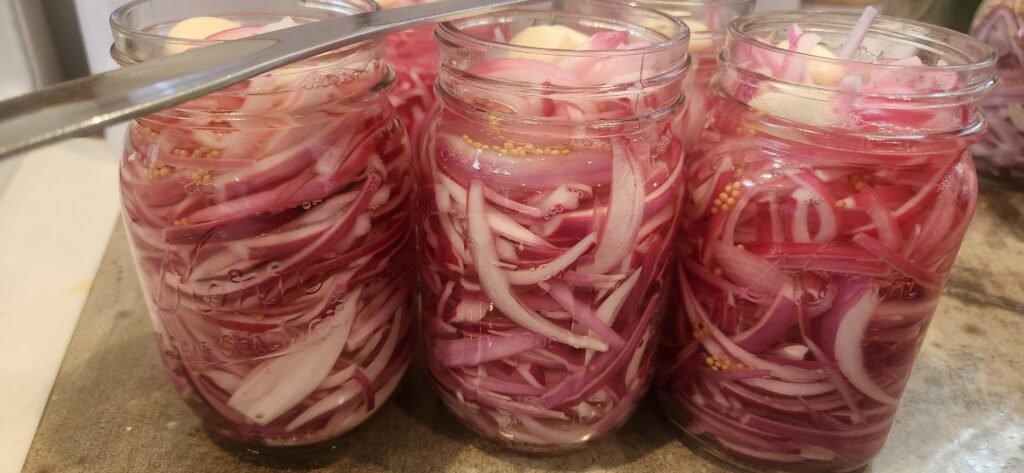
Step Six: Burp your jars
Using a butter knife, burp the bubbles from your jars by poking the knife around in each jar, allowing space for the bubbles to escape. Add more brine if needed to cover the onions, but keep your headspace.
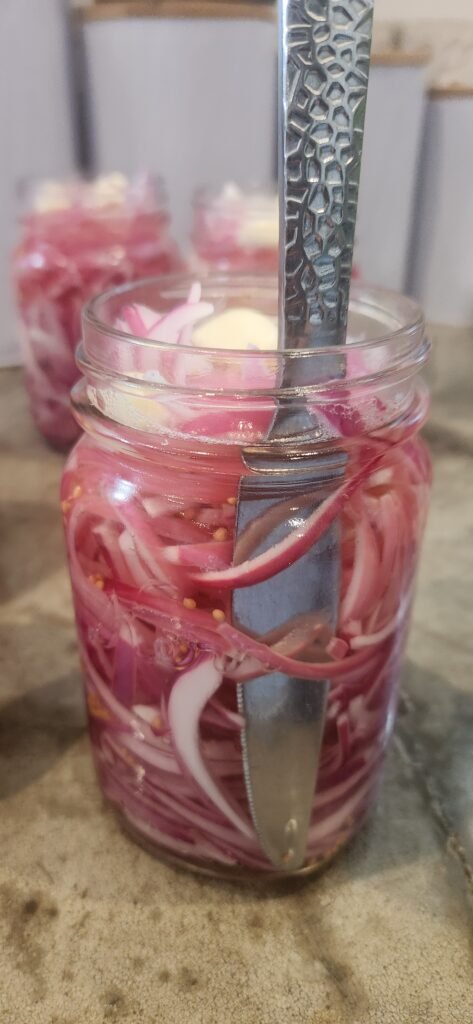
Step Seven: Process your pickled onions
Option One: In the fridge
If you plan to use your pickled onions quickly (within three weeks), this is the time to add the fermentation weight. If you don’t have a fermentation weight, you be extra careful to ensure that all your onions stay covered by brine. The weight simply pushes them down for you, so you can use something small and heavy (like those craft stones) in a sealed baggie to weigh it all down.
Clean your rims.
Add your lid and ring.
Allow your onions to cool to room temperature on the counter.
And then move them to the fridge to rest overnight.
By morning you have pickled red onions ready to eat.
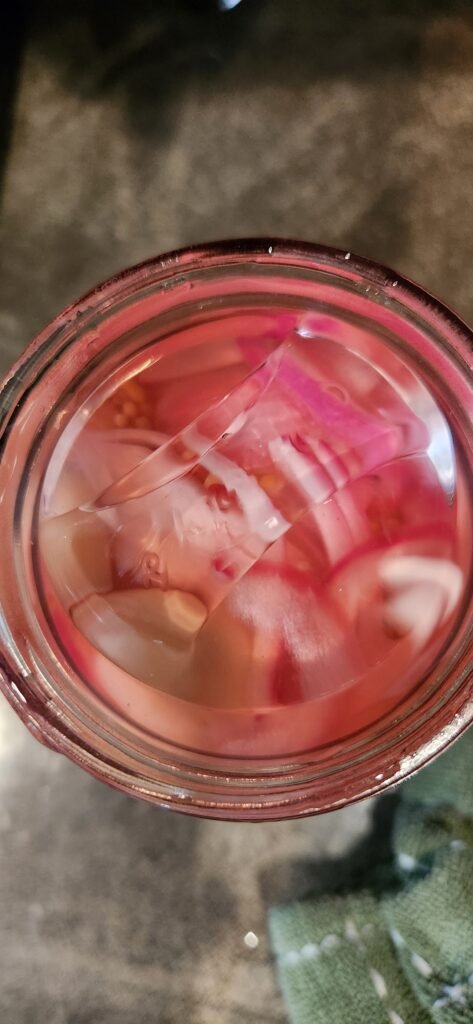
Option Two: In a water bath
If you would like your onions to last a little longer, you can process them in a water bath canner, which will make them shelf-stable for 12-18 months (depending on storage temperatures, lighting, and jar/lid brand).
Do not add a fermentation weight if you are using this method.
Clean your rims.
Add your lid (I warm these in a shallow pan with about an inch of water, on low heat) and ring.
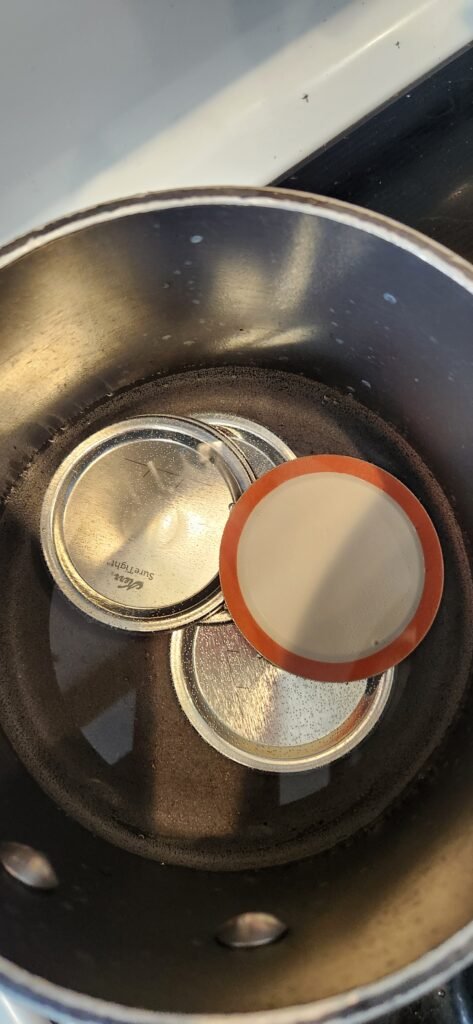
Place jars in water bath, ensuring that the water is at least two inches higher than the jar lids. If needed, add more water.
Bring to a boil and allow to process for 10 minutes (for pints).
While your onions are processing, fold a towel and place it on your counter.
Use a jar lifter and carefully remove jars from the water bath after 10 minutes. Place them on the folded towel to cool for 24 hours. Do not touch them for 24 hours.
As the jars cool, they will seal and you will hear popping noises.
After 24 hours, gently push the center of each lid to ensure they have sealed. If sealed, the lid will not move. If you push the middle of the lid and it depresses, that jar did not seal and should be refrigerated and used within 3 weeks.
Be sure to label sealed jars with contents and date and store in a cool, dark place for longest shelf life. After opening, onions should be stored in the fridge and used within three weeks.
Easy Pickled Red Onions
Ingredients
Equipment
Method
- Cut the root and head off the onions. Remove the skin.
- Slice the onions, from top to bottom, as thin or thick as you want
- Place onions in mason jars, leaving 1/2 inch headspace
- Add two cloves of garlic in each pint jar
- Add 1 tsp. of mustard seed to each jar
- Add 1 tsp. of peppercorns (if desired)
- Customize with your own spcies (if desired)
- In a pot, add vinegar, water, sugar, and salt. Bring to a boil
- Add boiling vinegar mixture to your jars, leaving 1/2 inch headspace
- Use a butterknife to burp the bubbles out of the jars, adding more vinegar as needed. Ensure all ingredients are covered by the mixture in each jar
- If you are storing in the fridge, add a fermentation weight to push the veggies down underneath the liquid. Wipe the rim to clean, add a lid and ring, and let sit on counter until cool. Once it reaches room temperature, store in the fridge overnight. Can be used for up to three weeks.
- If you are canning for long-term storage, wipe the rim of each jar, add a warmed lid and ring, and place in the water bath canner or large pot full of water. Water should be at least 2 inches above the jars. Bring to a boil and process for 10 minutes. Remove from pot using a jar lifter, place on a towel, and allow to cool for 24 hours. Check your seal to ensure processing was successful. Onions are now shelf stable for up to 18 months.
For more preservation recipes, see my blog on 5 projects I did in one weekend here.