
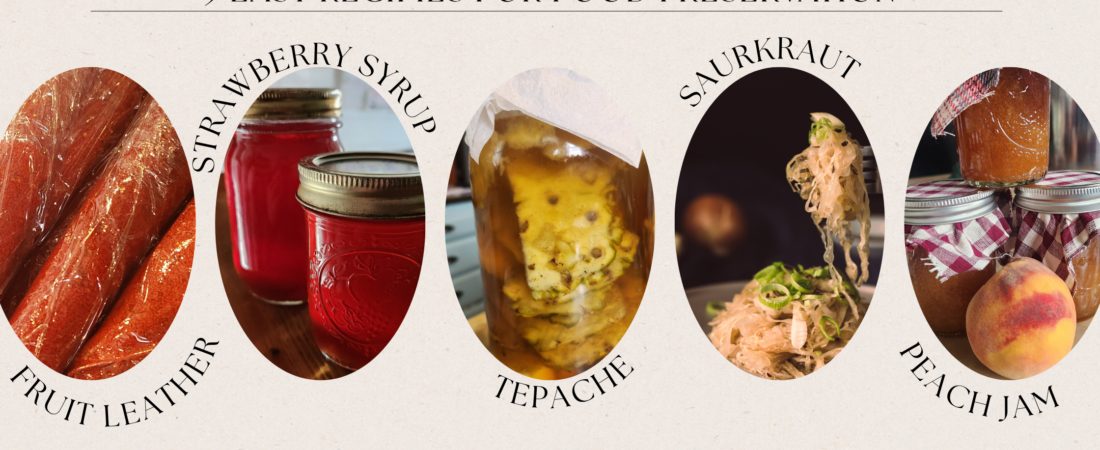
It’s the middle of summer and at our house that means pressure cooking, water bath canning, dehydrating, fermenting, and freeze-drying.
This weekend…I got a little crazy and started a bunch of projects.
That feeling of taking entire boxes and flats of food, preparing them, and making them safe to eat year-round is a little bit addicting.
And there were so many good deals that I couldn’t let all that food go to waste.
So, here are 5 Easy Recipies for Food Preservation that I made this weekend:
1. Strawberry Fruit Leather
Strawberries were $1/lb. at a local farm and….well, how do you pass that up?
So, my husband and I bought about 20 lbs. of strawberries and, since we still had a few jars of jam left from last year, we made fruit leather with it.
Fruit leather is a quick, easy, and simple way to preserve fruit and make it fun to eat. Although I make several batches, our kids (and my husband) eat it faster than it comes out of the dehydrator. It can be made with almost any fruit- we’ve done strawberries, peaches, apricots, apples, and raspberries.
First, wash your fruit.
If needed, peel or, for strawberries, cut off the tops. Remove pits, seeds, cores- whatever parts you wouldn’t normally eat.
Chop your fruit.
Add 4 cups of chopped fruit, 1/2 cup of water, and 1 tsp. lemon juice to a blender or food processor and puree it. Add sugar as needed. Some fruit will need more sugar, where others are already naturally sweet. This allows you to customize the flavor and sugar-levels for your family. Additionally, you can add spices like cinnamon, nutmeg, or clove to customize flavor.
Add your puree to a pan and heat to a boil.
Remove from heat.
Add fruit leather liners to your dehydrator trays (like these). Spray with cooking spray. Ladle the mixture into your tray liners, being careful to spread evenly and not overfill.
Dehydrate at 140 degrees for 12 hours, or until no longer sticky.
When dry, remove from tray. We cut each tray of fruit leather in half, rolling each half separately by placing it on a piece of plastic wrap, beginning at the bottom, and rolling it over itself.
Store in an air-tight container.
Whatever doesn’t fit in your trays can be refrigerated for the next batch. No need to heat again, simply add another batch of puree.
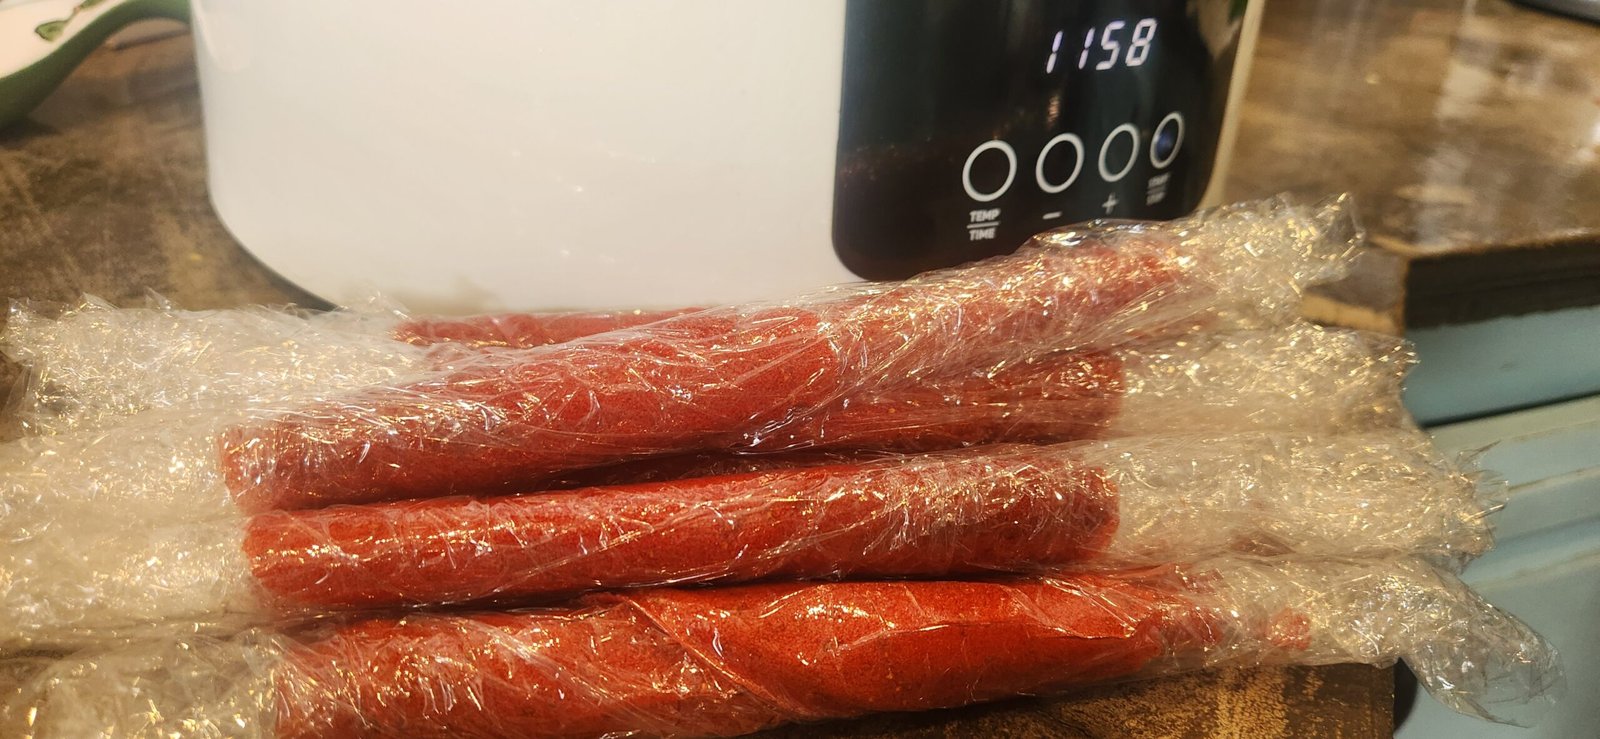
Fruit Leather
Ingredients
Equipment
Method
- Wash your fruit
- Prepare fruit. Remove tops, peel, pits, cores as needed. Chop
- Add fruit to a blender or food processor. Add water and lemon juice.
- Puree fruit until smooth.
- Add sugar a little bit at a time, until you like the taste. Mix together after each addition.
- Pour the puree into a large pot and heat until just boiling.
- Remove from heat and ladle onto fruit leather trays in the dehydrator.
- Dehydrate at 140 degrees for 12 hours, or until no longer sticky.
- When dry, remove from trays, cut in half, and roll in plastic wrap.
- Store in an air-tight container to preserve freshness
2. Strawberry Syrup
With all those strawberry tops leftover from the fruit leather, I made strawberry syrup and water bath canned it to use throughout the year. This syrup can be used on pancakes, ice cream, or as a flavor in drinks like lemonade. It really is versatile and helps you quickly use every part of your strawberries, rather than throwing them away.
Add 4 cups of strawberry tops, 3 cups of water, and 3 cups of sugar to a large pot.
Simmer for 30 minutes.
Strain into a bowl or another pot using a strainer or cheesecloth.
Discard the strawberry tops.
Ladle the syrup into jars, leaving 1/2 inch headspace.
Clean your rims, add lids and rings, and process in a water bath for 10 minutes (for pint jars).
Remove from the canner and allow to sit for 24 hours. Check to make sure the center of the lid is pulled down and doesn’t move. This means it is sealed correctly and shelf stable.
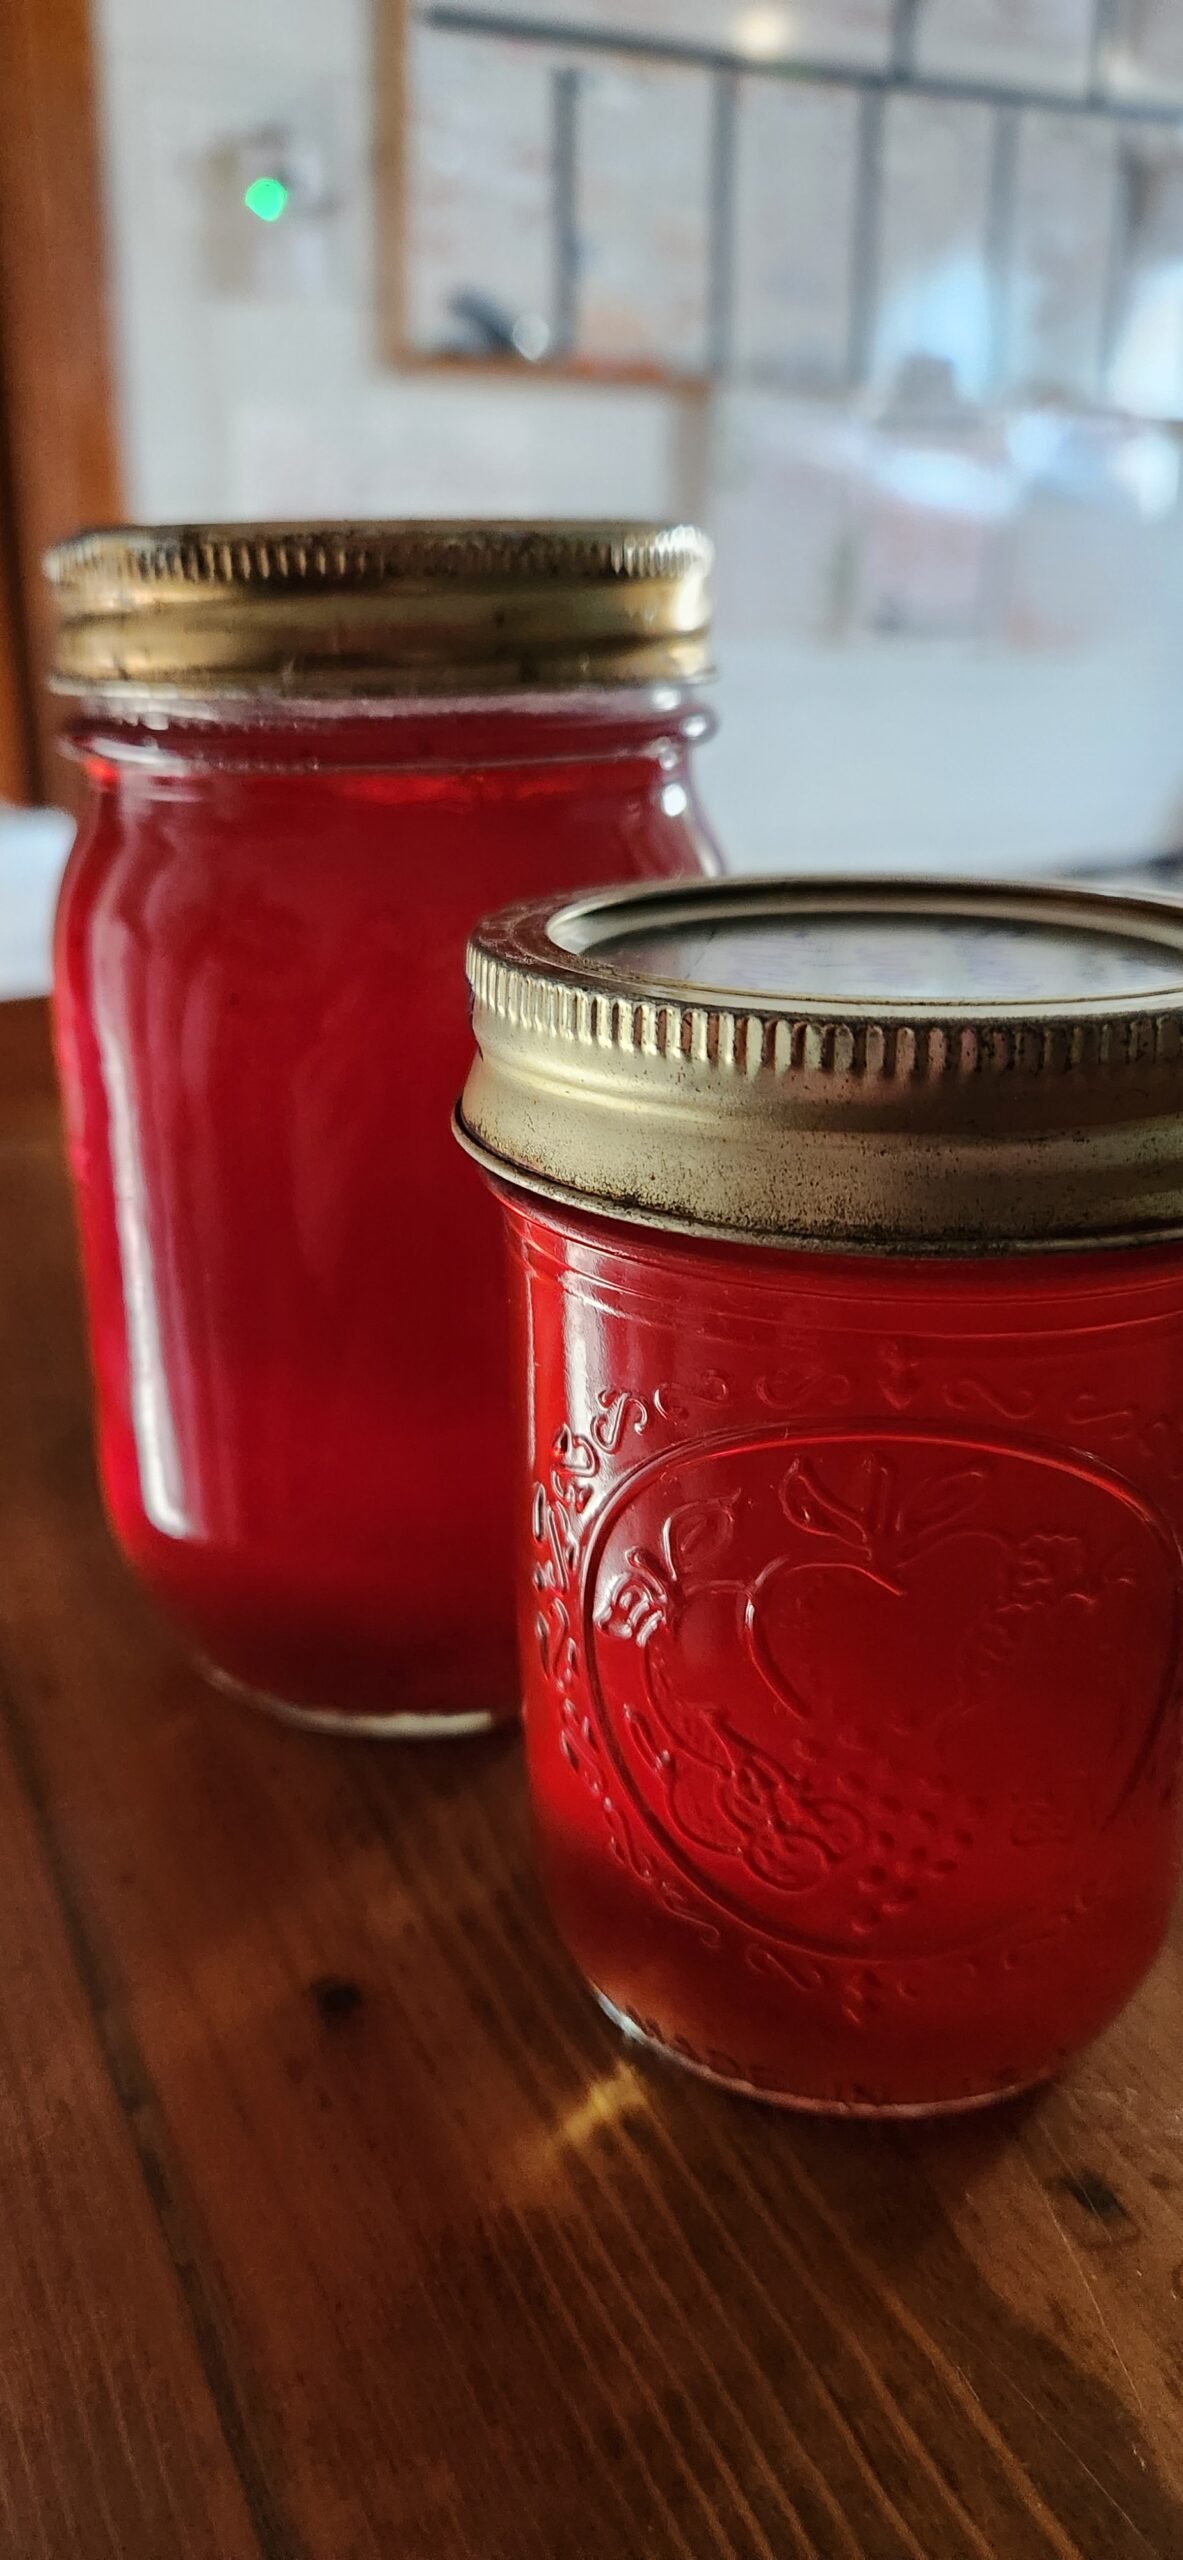
Strawberry Syrup
Ingredients
Equipment
Method
- Add strawberry tops, water, and sugar to a large pot
- Simmer for 30 minutes
- Strain with a strainer or cheesecloth. Discard strawberry tops.
- Ladle the syrup into warm jars, leaving 1/2 inch headspace
- Clean the rims. Add lids and rings
- Process in a water bath for 10 minutes. Ensure that water is boiling and reaches at least 2 inches above the lids of the jars
- Remove from the canner and allow to cool on a towel on the counter for 24 hours
- After 24 hours, check the seal by ensuring that the middle of the lid does not move when gently pressed.
3. Sauerkraut
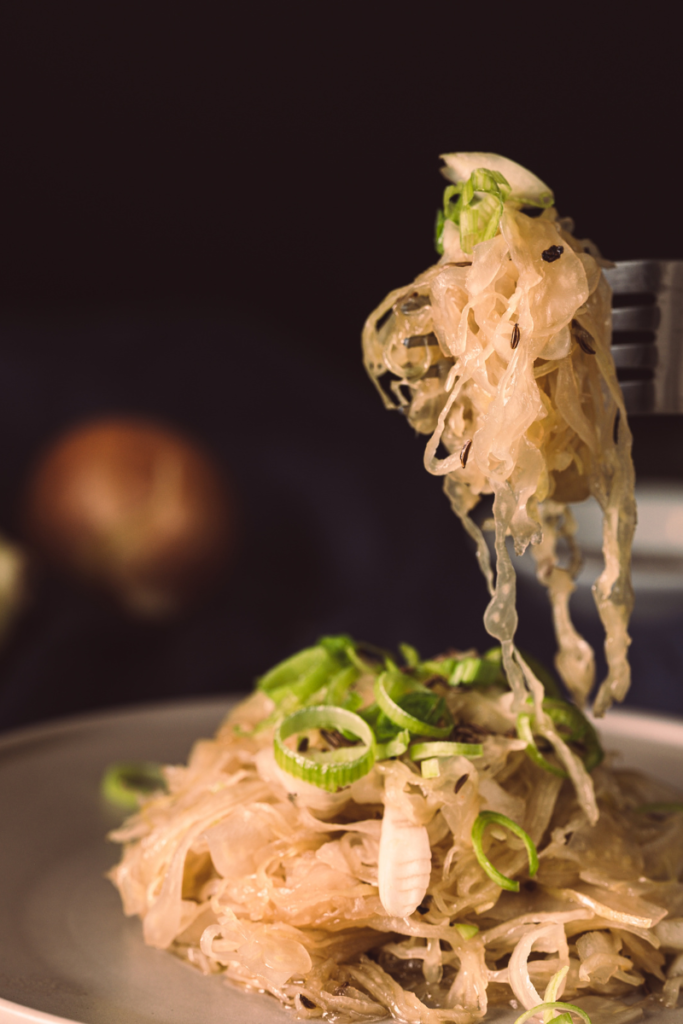
Cabbage is never expensive and it has so many uses. However, fermenting it allows you to store it for longer, creates a topping that can be added to many dishes, and helps build a healthy gut bacteria.
That said, I hate sauerkraut.
But, my husband likes it so it is one of our new adventures.
Sauerkraut is really simple to make, only needs two ingredients, a mason jar, and some patience.
It’s important to note that fermentation creates and builds up carbon dioxide gas. Use a fermentation lid (like these), cover with a breathable fabric (like a paper towel), or burp (open and allow gases to escape) your sauerkraut each day. Otherwise, it can build up pressure and explode.
We followed this recipe and it turned out great.
4. Tepache- A Traditional Pineapple Drink
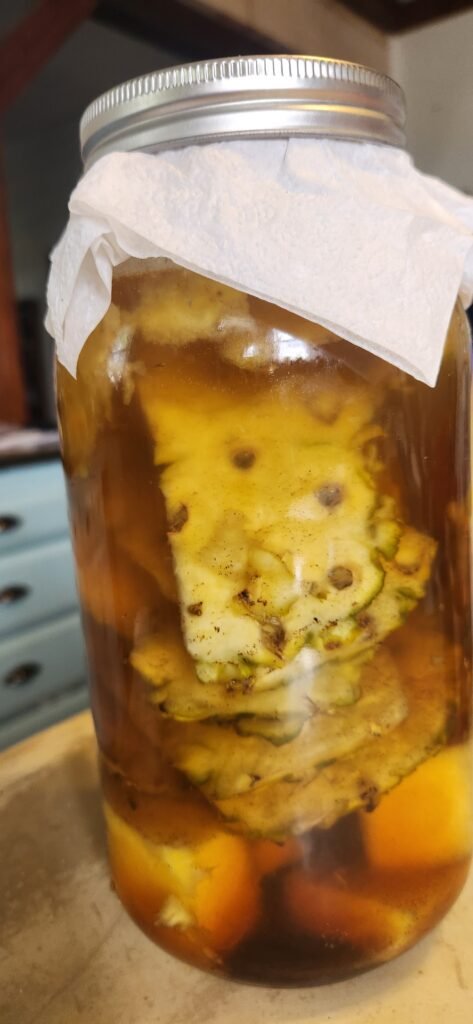
Another new adventure in our house this weekend was tepache. This is a traditional pineapple soda-like drink from Mexico. It requires fermentation to build up the gases that make the bubbles (see fermentation warning above). The process also allows a buildup of healthy gut bacteria. Since we had a pineapple to snack on and didn’t want to waste the peels, this was perfect.
For tepache, I used a wide-mouth 1/2 gallon jar and followed the recipe here.
And while it turned out delicious, it does have a slight alcohol content from fermentation of the sugar, which you should be aware of when making or enjoying this drink.
After straining, I bottled it and placed it in the fridge. It is by far my favorite project of the weekend and tastes a bit like apple cider- if the apples were pineapples.
5. Christmas Peach Jam
I know, it’s too early for Christmas.
But….our family used to own a peach orchard which gave us way too many peaches. Our solution was to make jam and save it to give away as friend, neighbor, co-worker, and teacher Christmas gifts.
We have since sold the orchard, but everyone still looks forward to jam each year.
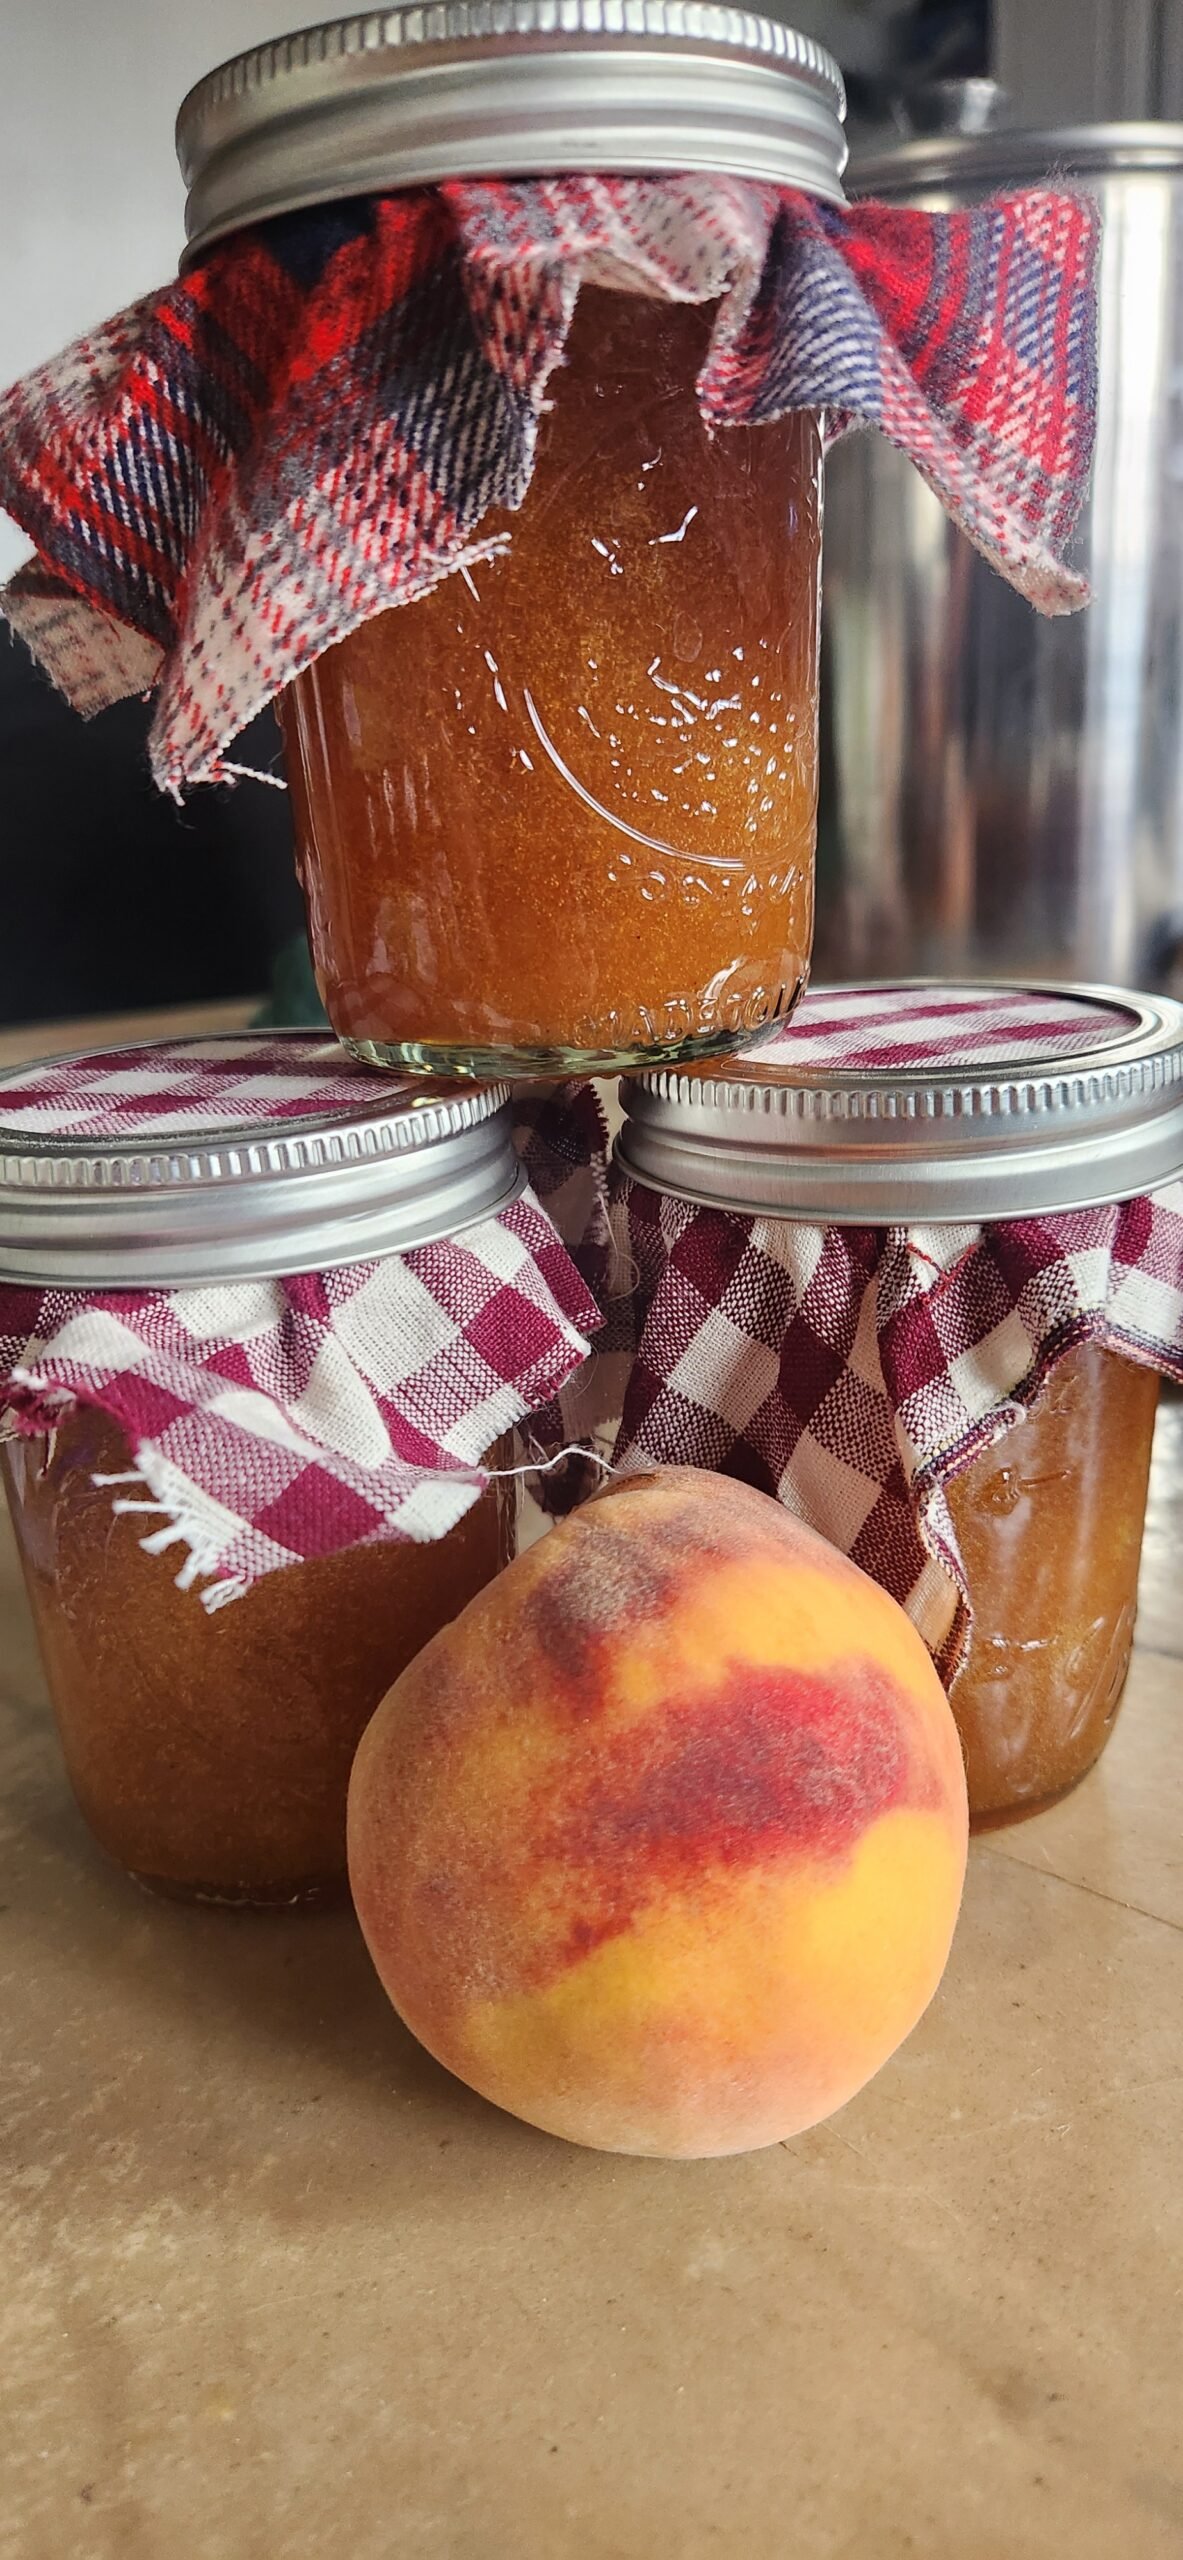
This year, however, peaches are hard to come by as we experienced 4 separate freezes in the middle of blooming season. So, when I was lucky enough to find some Suncrest peaches for sale at a farm nearby, I bought a bushel (about 40-50 lbs.) and brought them home for Christmas.
To make the jam, simply wash 3 lbs. of peaches, peel and pit them. Then, chop them and add them to a blender.
Add 1/ c. lemon juice, 1/4 Tbsp. cinnamon, and 1/2 tsp. vanilla.
Blend together until smooth.
Add to a pot add in 1 3/4 oz. pectin (which can be bought in most grocery stores).
Bring to a boil. Add 5 cups of sugar. Stir.
Return to a boil, stirring constantly. Boil for 1 min.
Remove from heat, skim foam off the top using a small spoon.
Ladle jam into warm jars, leaving 1/2 inch headspace.
Clean rims, add lids and rings, and process in a water bath canner for 10 minutes (for half pint jars).
Ingredients
Equipment
Method
- Wash, peel, pit, and chop peaches
- Add peaches, cinnamon, and vanilla to blender or food processor and blend until smooth
- Pour into large pot over medium heat, stir in pectin, and bring to a boil
- Add sugar, stirring constantly. Return to a boil. The mixture will bubble up to about twice its size. Boil for 1 minute and remove from heat
- Skim off foam and discard
- Add jam to warm jars, leaving 1/2 inch headspace
- Clean rims, add warm lids and rings, and process in a water bath canner for 10 minutes
- Remove from canner and place on a towel on the counter. Jars should not be touching. Allow to sit for 24 hours to seal. If the middle of the lid does not move when gently pressed, jams have sealed and are shelf stable.
For more food preservation fun, see my most on pickled red onions here.